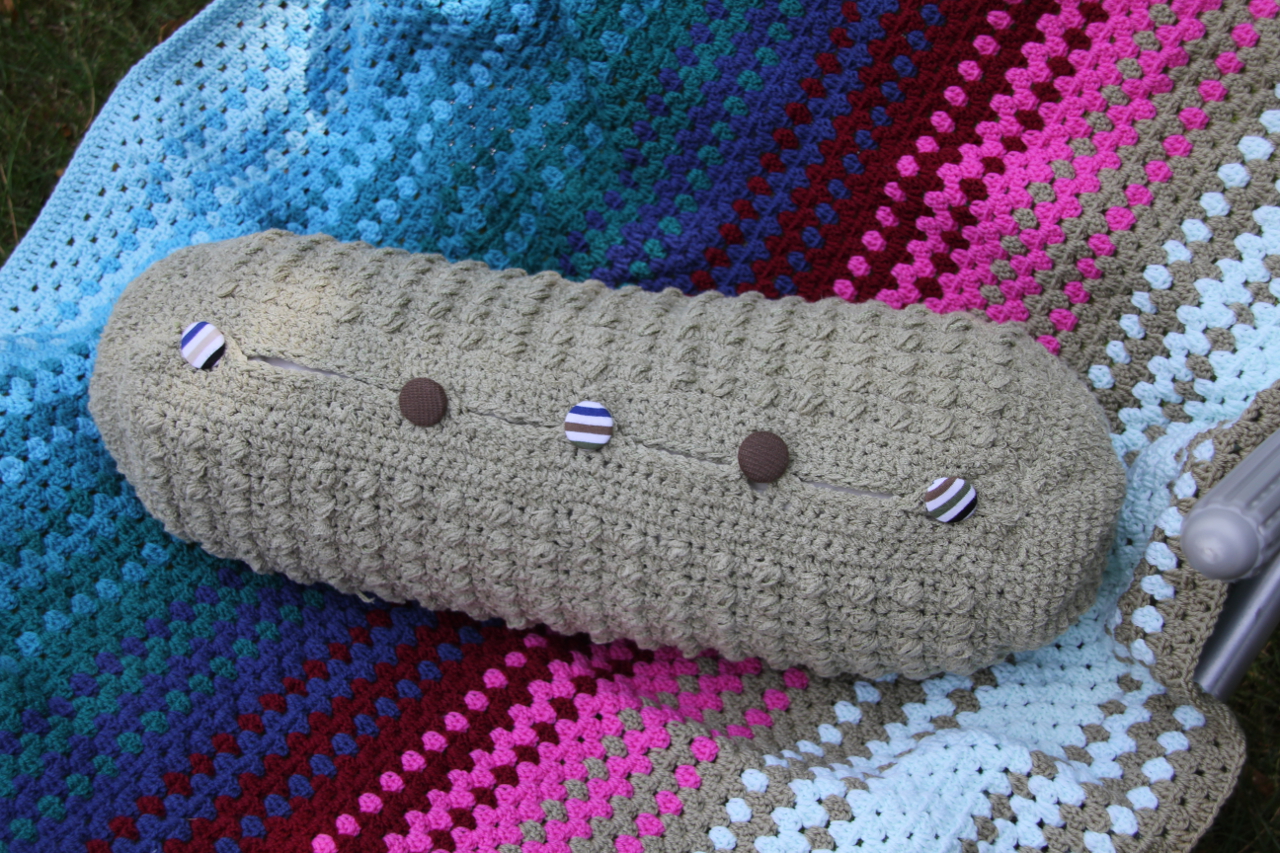
Sweet Dreams – Neck Pillow Cover
What you need:
Yarn: I used Patons Favorito, 41% cotton, 34 acrylic, 25% polyamide – 50g/105m (115yds).
3,5 skeins were used.
I bought this yarn for half price and in Austria this yarn is not available anymore!
Here some links where you could still get this yarn OR another yarn with the same fiber.
1) for the UK this yarn may still be available here.
2) Schachenmayr Favorito (not available in the UK)
3) Berroco Love It Colors Yarn
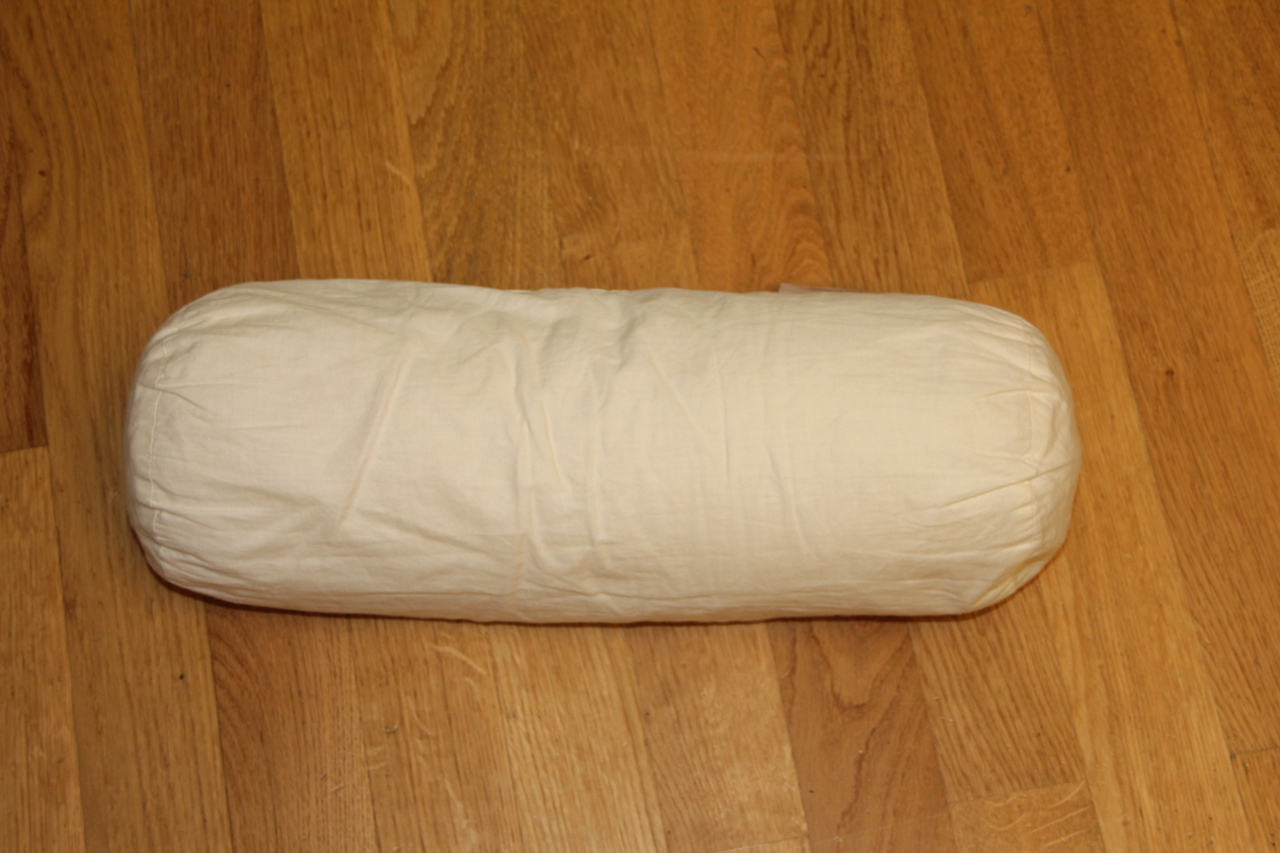
Pillow:
Length 40 cm, circumference 41 cm
Hook: 4 mm
Stitches: chain (ch), single crochet (sc), bobble stitch, slip stitch (ss), magic ring (MR)
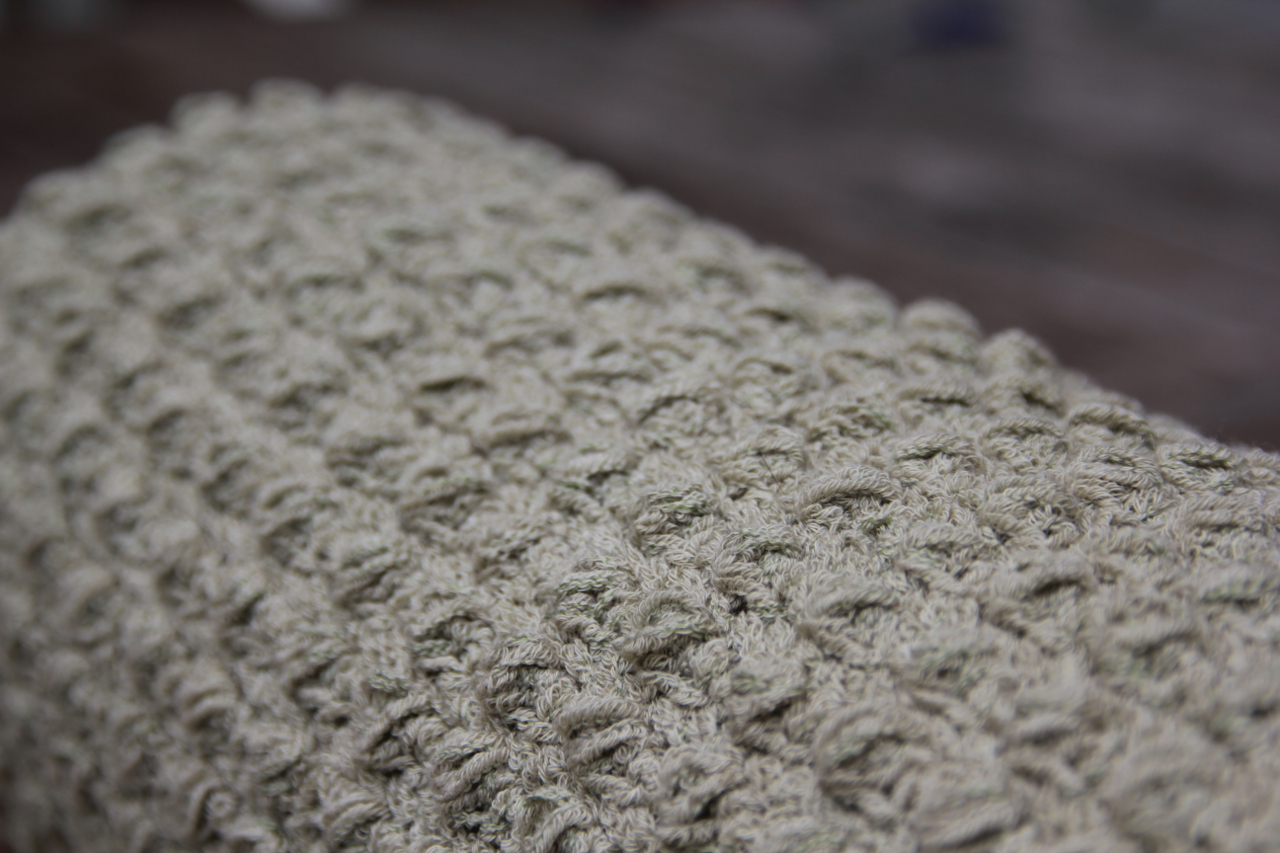
Bobble stitch:
*(Yarn over and draw up a loop) 3 times in next st.
Yarn over and draw through all 7 loops.
I am working on making a phototutorial for this stitch!
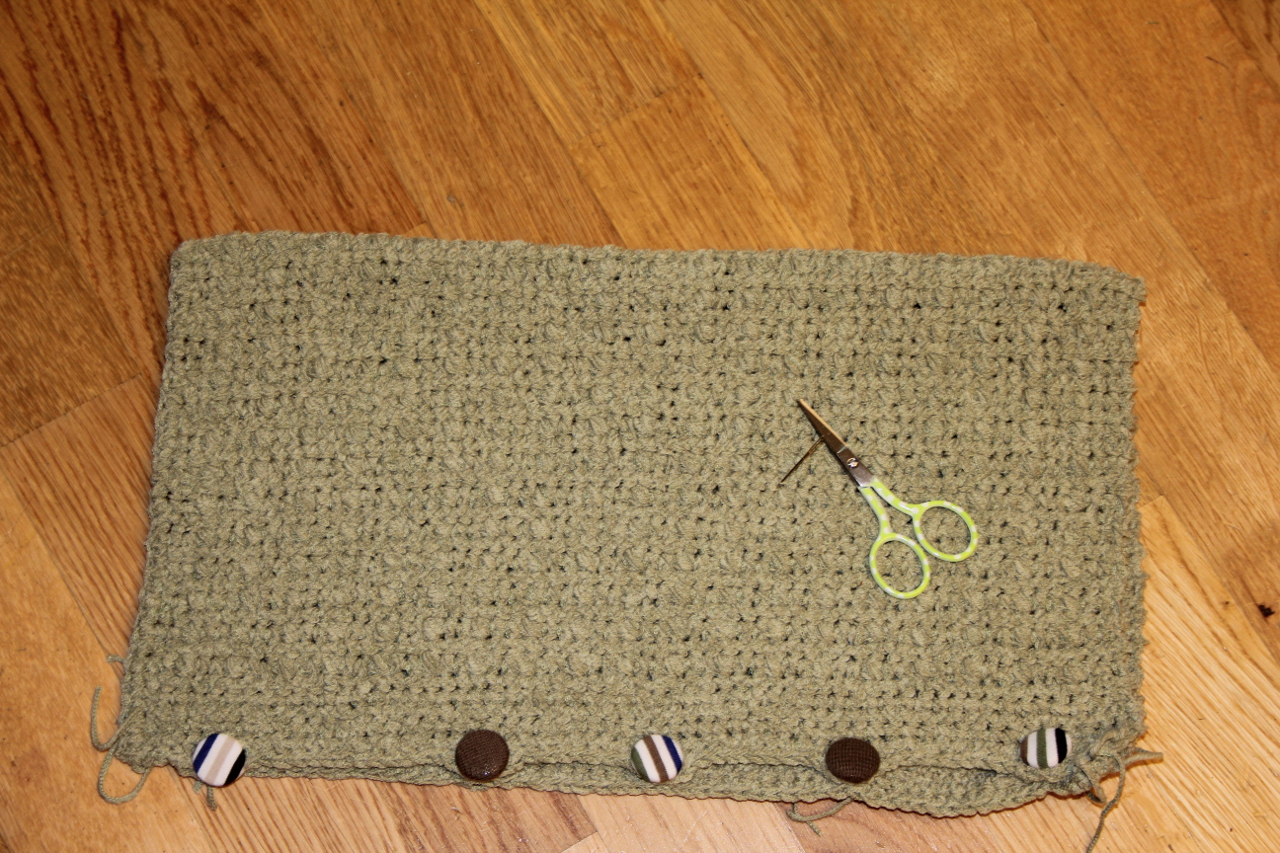
Supplies: scissor, tapestry needle, 5 buttons Ø 19 mm (I made my own fabric buttons with a kit)
Main part:
Cover measurements: 40 x 38 cm
Chain 62
1. – 7. ch 1, 61 sc
8. ch1 , 3 sc , * 1 bobble, 2 sc* repeat ** and end with 3 sc
9. ch1, 61 sc
10. – 38. repeat row 8 and 9 28 times ( makes 29 rows with bubbles and 29 rowsn with sc)
39. – 41. ch 1, 61 sc
42. Row with button holes!
ch 1, 3 sc, 4 ch (skip 1 st ) – 10 sc – 4 ch (skip 1 st) – 10 sc – 4 ch (skip 1 st) – 10 sc – 4 ch (skip 1 st) -13 sc – 4 ch (skip 1 st) – 8 sc
43. ch1, ss in each stitch ( also in each chain)
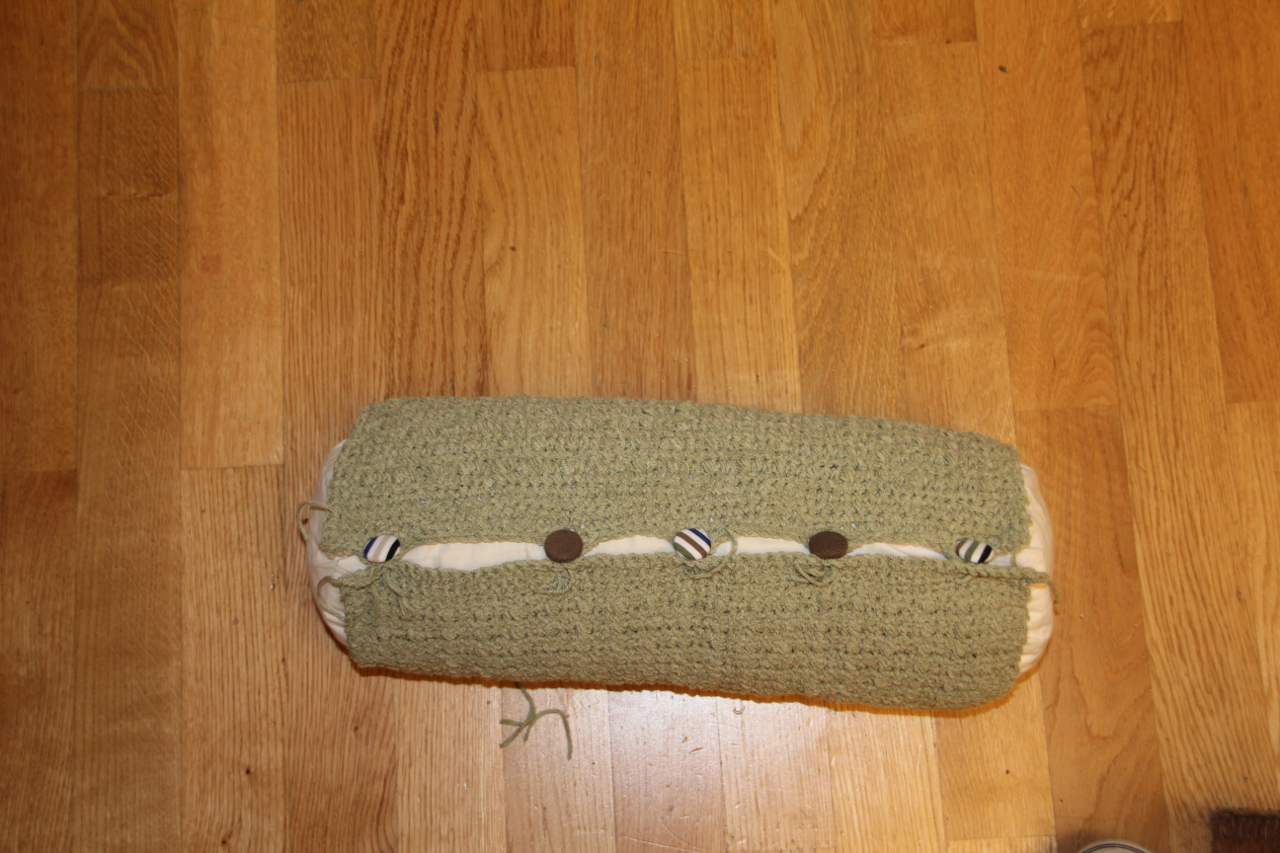
Now fold the cover with right side to right side, so that the wrong side is facing you!
Sew buttons where the button holes match!
Side parts (2x)
MR
1. ch 1, 10 sc – keep crocheting in rounds no ss
2. 2 sc in each stitch (20)
3. *1sc, 2 sc* (30)
4. *1sc, 1sc, 2 sc* (40)
5. 40 sc
6. * 1sc, 1sc, 1sc, 2sc* (50)
7. 50 sc
8. *1sc, 1sc, 1sc, 1sc, 2sc* (60)
9. – 11. 60 sc
Leave a long tail to sew side parts to main pillow part
Put main part with the wrong side facing you around the pillow.

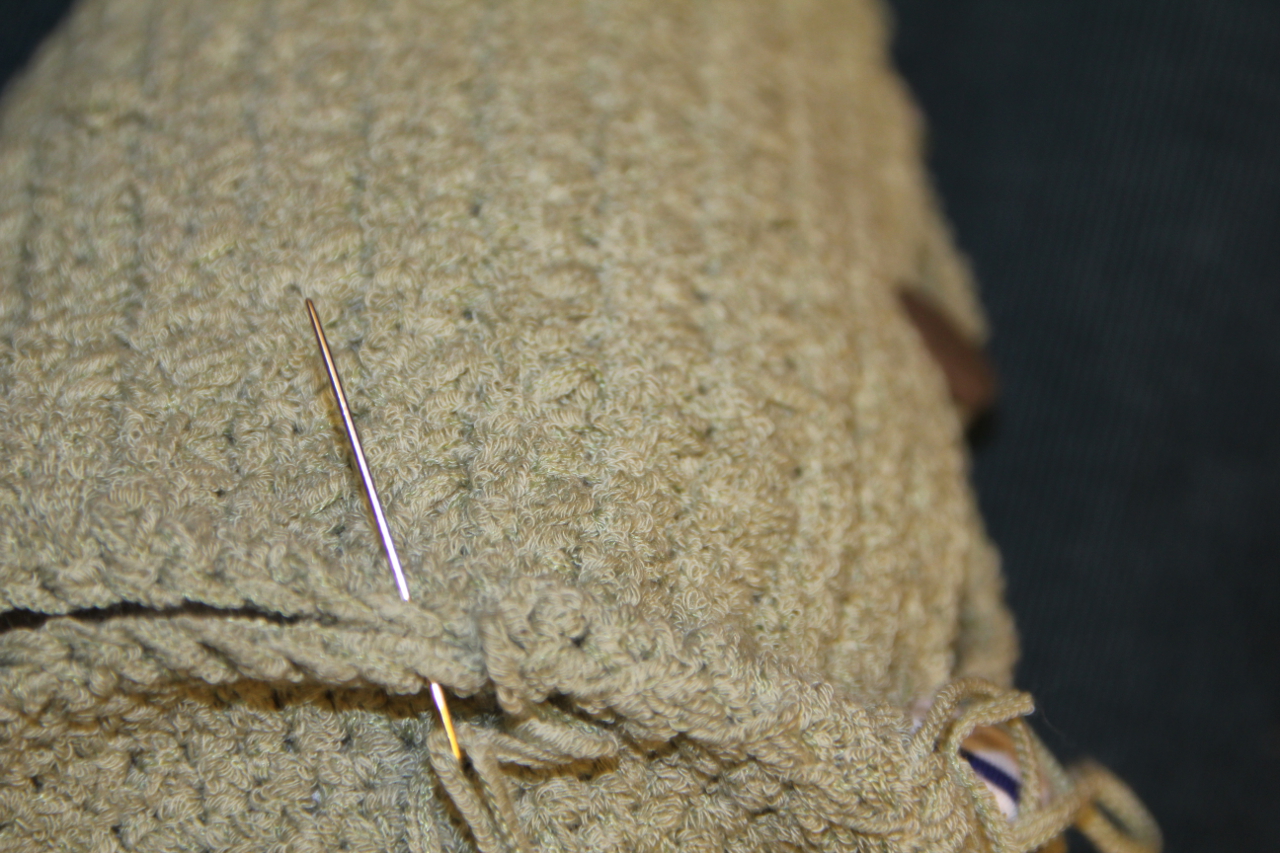
Sew the side parts tot he main part, and also sew the first 1,5 cm at the right and left of the main part (before the first and after the last button).
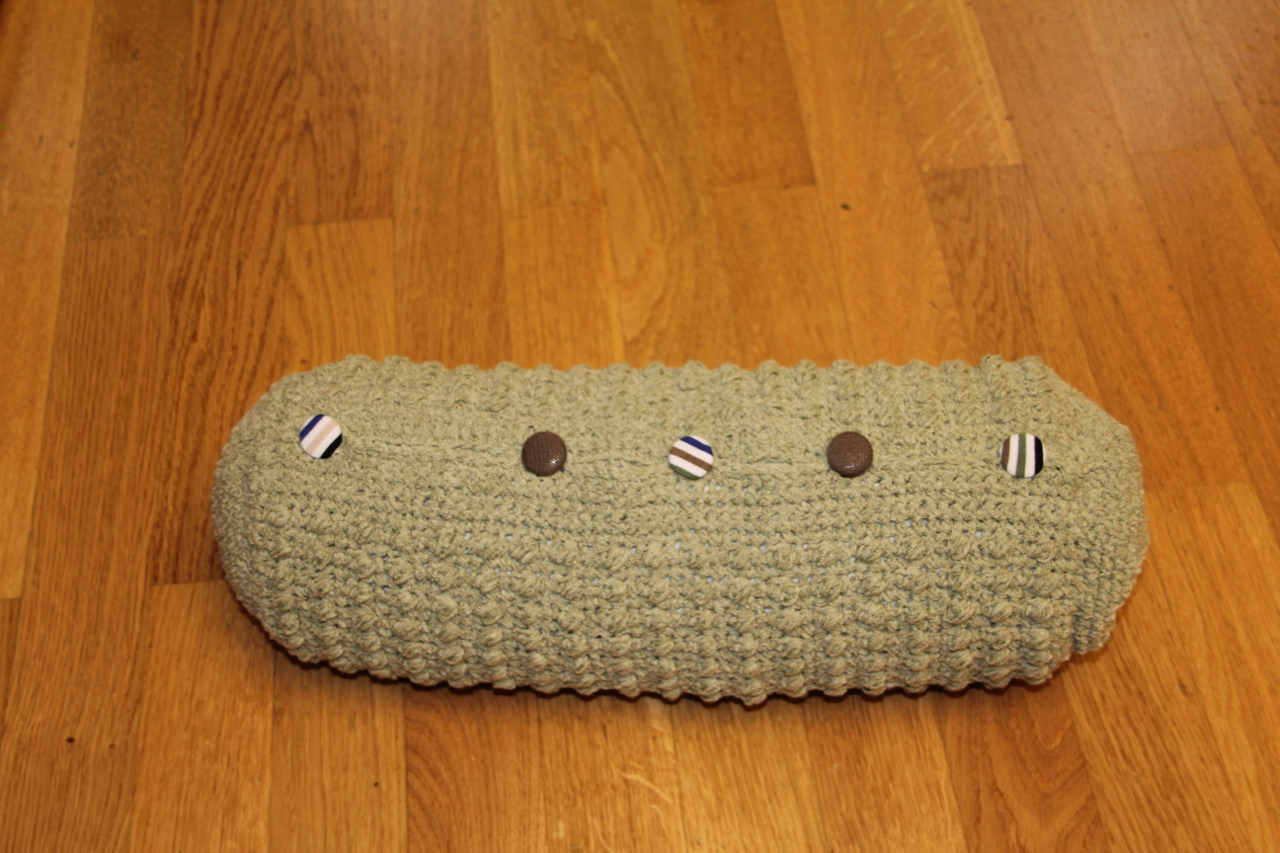
Take off the cover and turn it around. Put it over your pillow – et voilá !
One comment